Bundling
Congratulations! You built your first fully-functional Dioxus app, completely loaded with Routing, asynchronous data-fetching, Server Functions, and a database! That's incredible for just a few minutes of work.
Let's get your app bundled for multiple platforms and then ready to deploy.
Testing on Desktop and Mobile
So far, we've been testing our app in a simple web browser. Let's actually build and test our app for mobile platforms.
In Dioxus 0.6, dx finally supports dx serve for Android and iOS!
Testing on iOS
To test iOS, your development environment needs to be setup to build iOS apps. This involves a few steps:
- Make sure you are developing on a device running macOS
- Install XCode
- Download a recent iOS SDK and Emulator pack
- Install the iOS Rust toolchains (
aarch64-apple-ios aarch64-apple-ios-sim)
This is a multi-step process and requires creating an Apple Developer account. You shouldn't need to pay any fees until you want to sign your app. Signing your app is required for deploying to the Apple App Store and testing on your iOS device.
If everything is installed properly, you should be able to open the Simulator app:
open /Applications/Xcode.app/Contents/Developer/Applications/Simulator.app
If the Simulator app opens but no device pops up, you might need to open a specific device. Use xcrun to discover which devices you have installed.
xcrun simctl list
Identify an available device. We're going to simulate an iPhone 15 Pro Max:
xcrun simctl boot "iPhone 15 Pro Max"
Once the simulator is booted, we can run dx serve --platform ios.
Fantastic - our app works seamlessly with no changes.
Testing on Android
Setting up your environment for Android development takes time, so make sure to read the mobile tooling guide.
- Install the Android NDK and SDK
- Set JAVA_HOME, ANDROID_HOME, NDK_HOME, and fix PATH issues to use the
emulatortool - Install and set up an Android emulator
- Install the Android rustup targets (
aarch64-linux-android armv7-linux-androideabi i686-linux-android x86_64-linux-android)
Let's start an emulator. We can use the emulator command which should be in your PATH if setup properly. We're going to use our Pixel_6_API_34 emulator, but you can use any device you've configured.
emulator -avd Pixel_6_API_34 -netdelay none -netspeed full
If we try to dx serve --platform android, we'll find that our app fails to build for Android. This is not good!
12:45:39 [cargo]   Could not find directory of OpenSSL installation, and this `-sys` crate cannot
12:45:39 [cargo]   proceed without this knowledge. If OpenSSL is installed and this crate had
12:45:39 [cargo]   trouble finding it,  you can set the `OPENSSL_DIR` environment variable for the
12:45:39 [cargo]   compilation process.
12:45:39 [cargo]   Make sure you also have the development packages of openssl installed.
12:45:39 [cargo]   For example, `libssl-dev` on Ubuntu or `openssl-devel` on Fedora.
12:45:39 [cargo]   If you're in a situation where you think the directory *should* be found
12:45:39 [cargo]   automatically, please open a bug at https://github.com/sfackler/rust-openssl
12:45:39 [cargo]   and include information about your system as well as this message.
12:45:39 [cargo]   $HOST = aarch64-apple-darwin
12:45:39 [cargo]   $TARGET = aarch64-linux-android
12:45:39 [cargo]   openssl-sys = 0.9.104
Currently, rust-openssl does not cross-compile properly for Android targets. To fix this, we need to add the openssl crate to our Cargo.toml and then enable its "vendored" feature. This will build OpenSSL from source instead of trying and failing to read it from the Android NDK.
We're only going to enable the vendored feature when targeting Android.
[target.'cfg(target_os = "android")'.dependencies]
openssl = { version = "0.10", features = ["vendored"] }
In the future, Dioxus might add OpenSSL's vendored feature implicitly to make this error go away. We're covering it here since it's important to understand that not every Rust dependency works out-of-the-box for iOS and Android. Unfortunately, the Rust ecosystem for mobile is still quite young and you'll need to know how to solve problems like these.
Let's try again!
dx serve --platform android
Testing on Desktop
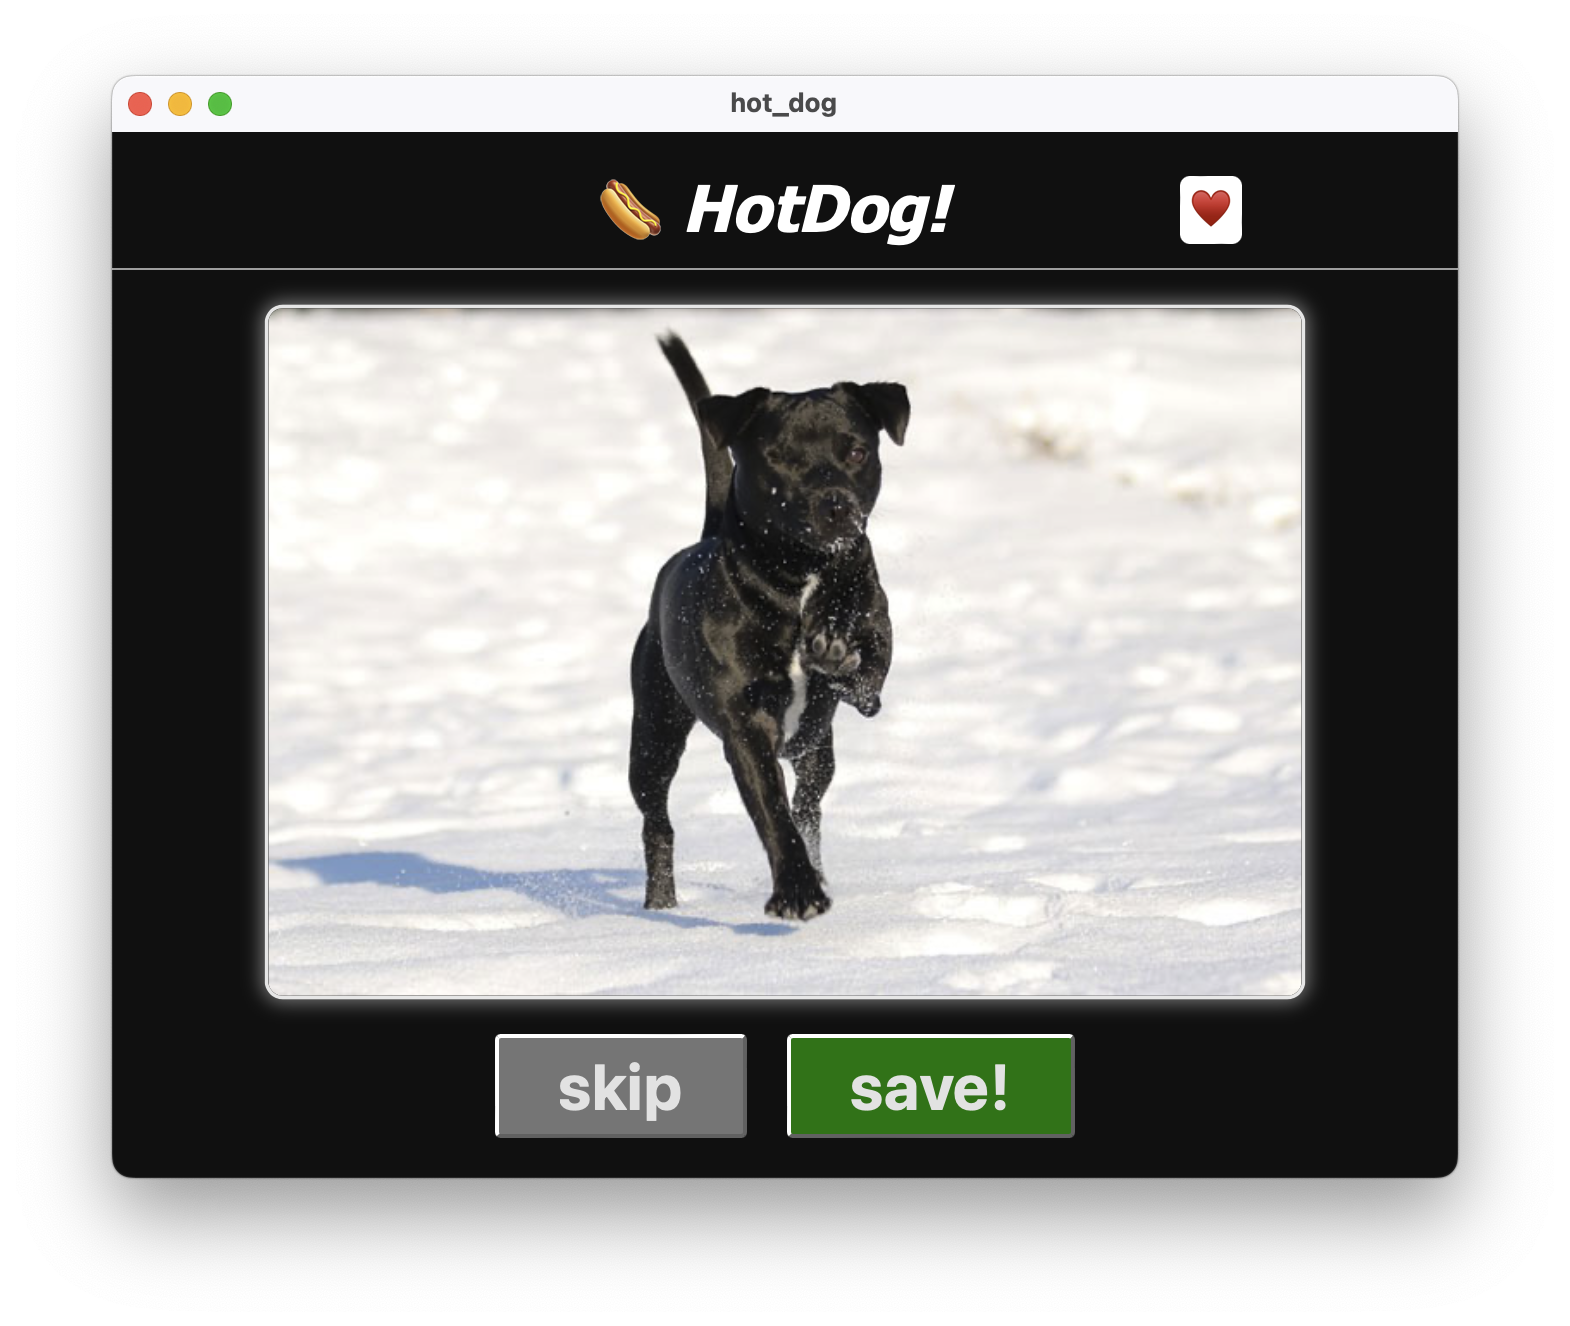
HotDog also works on macOS, Windows, and Linux! We can use dx serve --platform desktop to serve our app as a desktop app.

Bundling for the web
After we're done making changes to our server and client apps, we can build bundles that are ready to distribute.
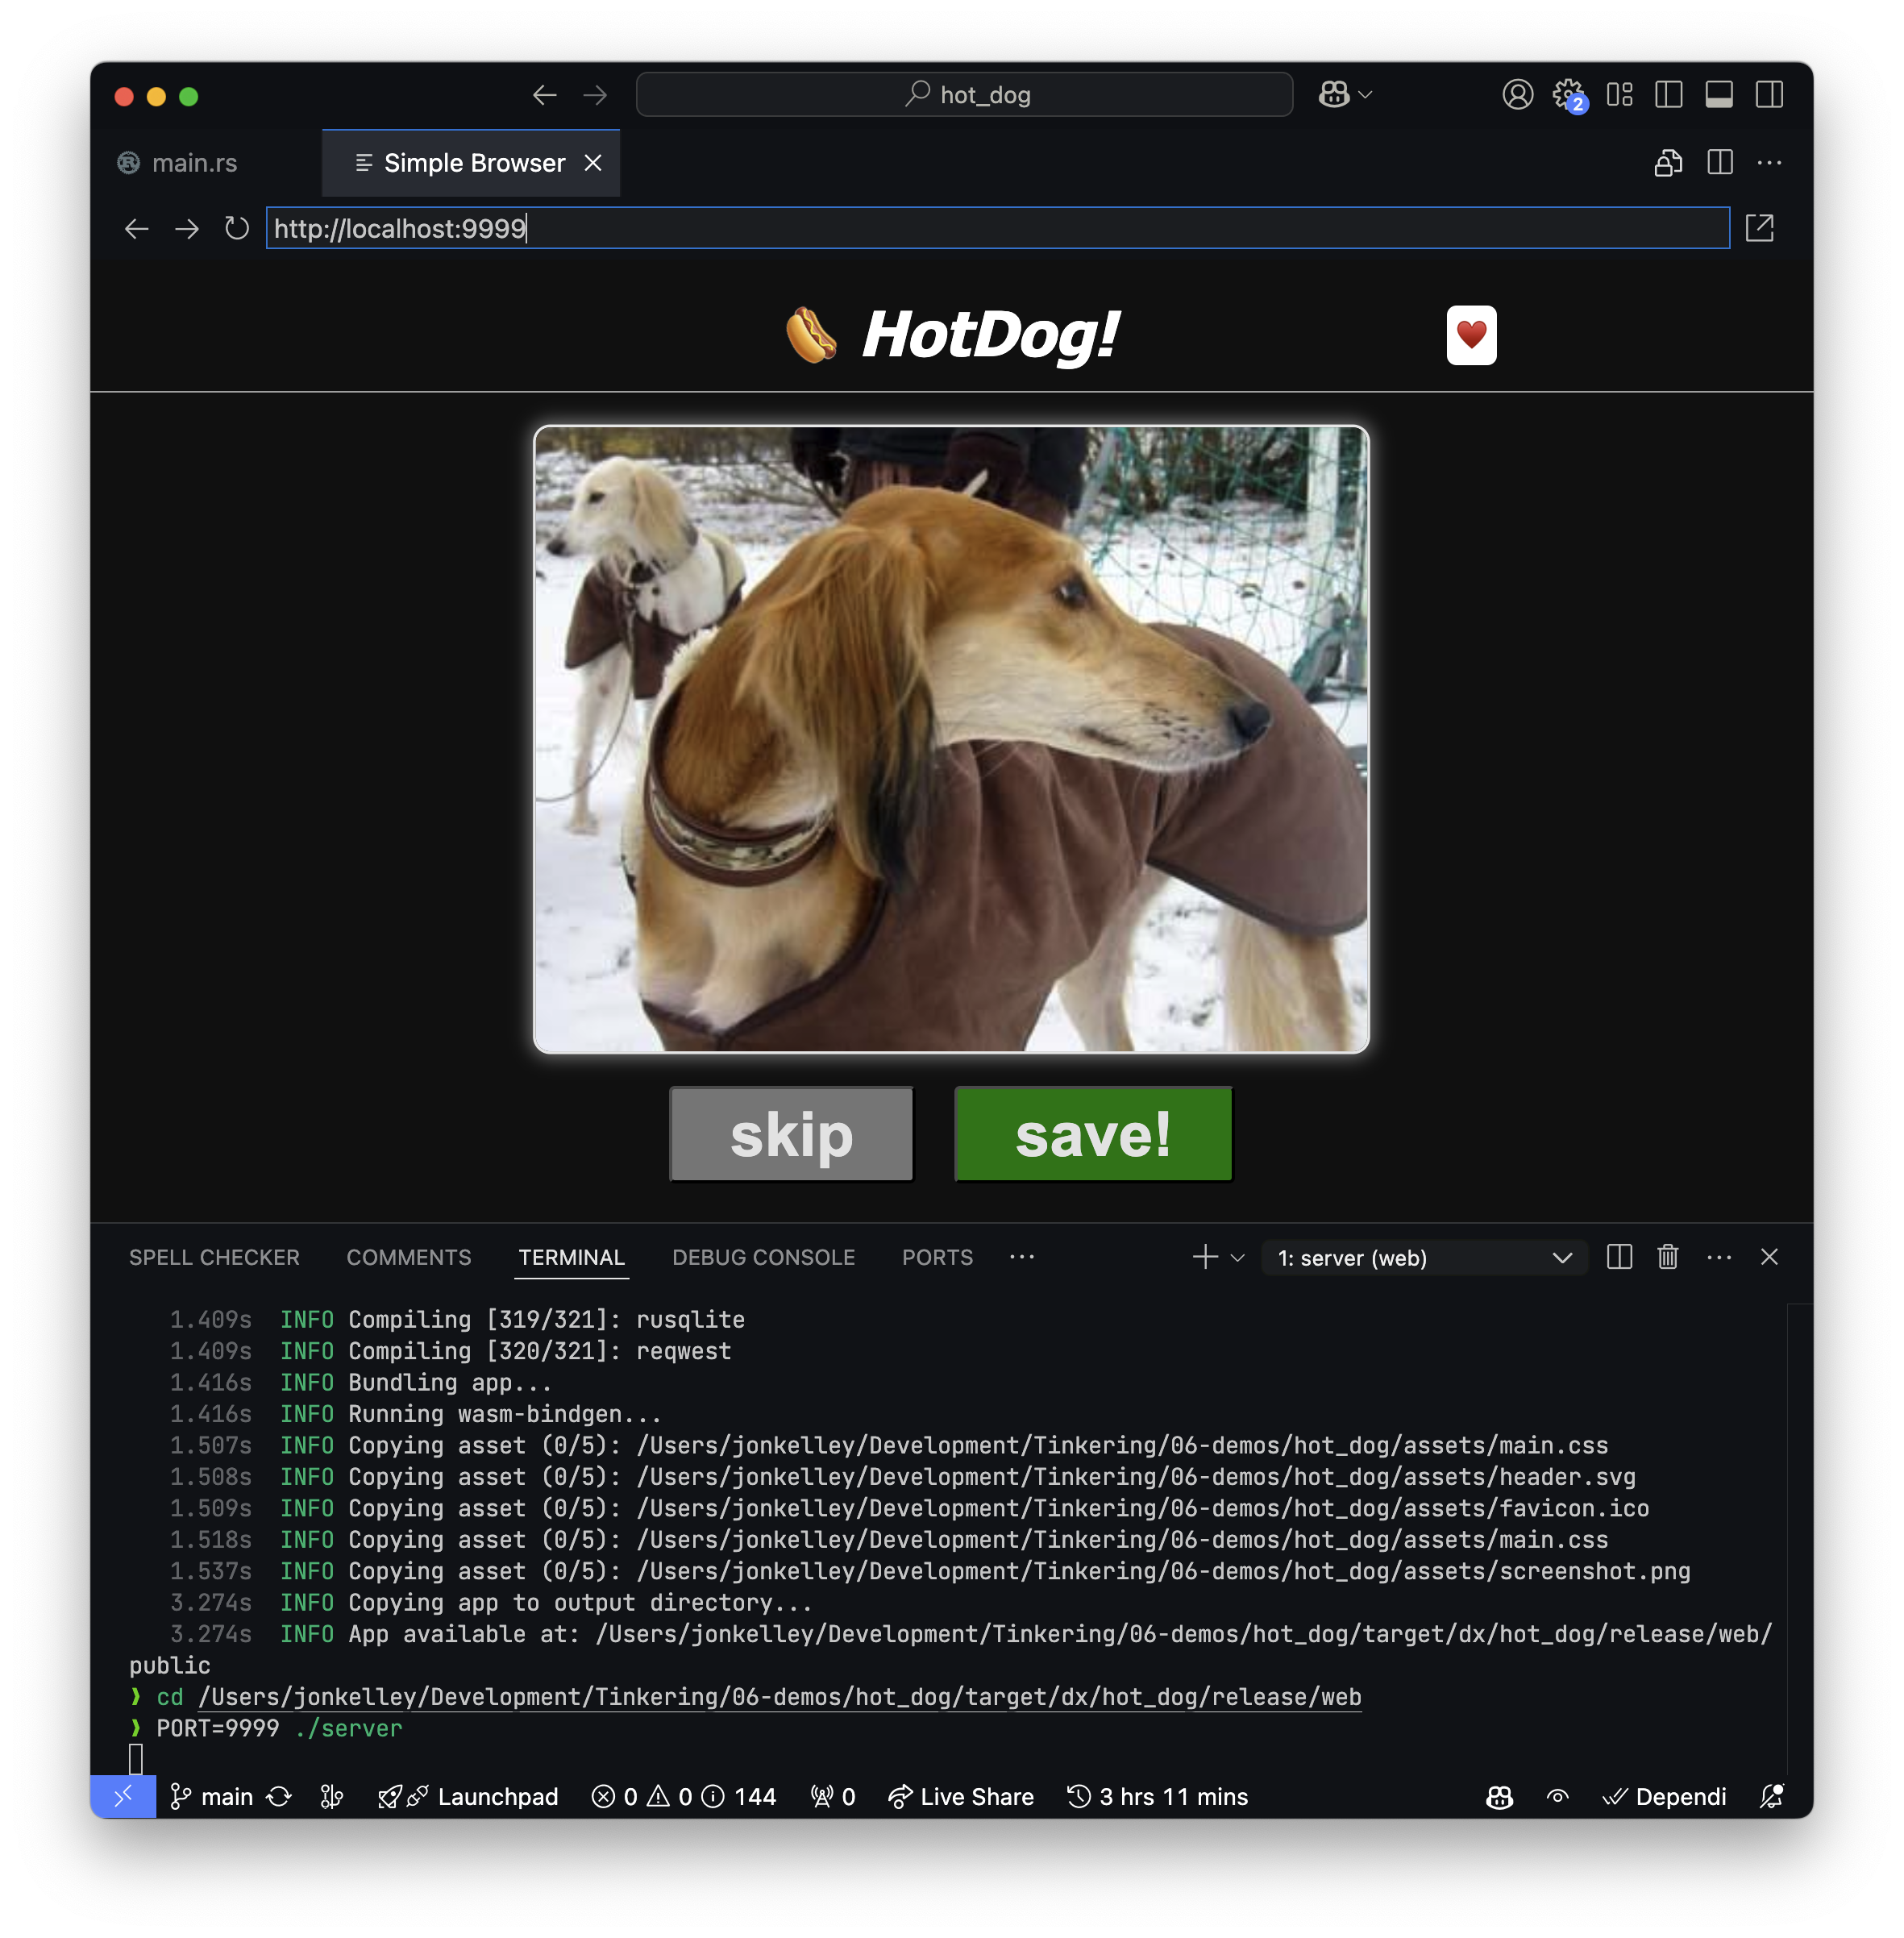
We're going to follow the same pattern as dx serve but with dx bundle. To start, let's build the web version of our app.
dx bundle --platform web
We should receive a series of INFO traces from the CLI as it builds, and then finally a path to the public folder it generates. Let's cd into its public directory and then check out its parent directory (cd ..) (the "web" folder).
❯ tree -L 3 --gitignore
.
├── public
│   ├── assets
│   │   ├── favicon.ico
│   │   ├── header.svg
│   │   ├── main-14aa55e73f669f3e.css
│   │   ├── main.css
│   │   └── screenshot.png
│   ├── index.html
│   └── wasm
│       ├── hot_dog.js
│       ├── hot_dog.js.br
│       ├── hot_dog_bg.wasm
│       ├── hot_dog_bg.wasm.br
│       └── snippets
└── server
dx built a public folder containing our assets, index.html, and various JavaScript snippets. Alongside our public folder is a server binary. When we deploy our web assets, we'll also want to deploy the server since it provides our server functions.
We can manually run the server simply by executing it. If you're using a default dioxus::launch setup, then the server will read the IP and PORT environment variables to serve.
📣 If you intend to serve from within a container (e.g., Docker), then you need to override the default
127.0.0.1address withIP=0.0.0.0to listen for external connections.

Bundling for Desktop and Mobile
To bundle desktop and mobile apps for deployment, we'll again use dx bundle. As of today, dx bundle only builds desktop apps for the native platform and architecture. Unfortunately, you can't build macOS apps from Windows, Linux apps from Mac, etc. We recommend using a Continuous Integration Matrix (like Github Actions) to perform a "cross-build" of your app in multiple different containers.
When bundling installable apps, there are many distribution formats to choose from. We can specify these formats using the --package-types flag on dx bundle. Dioxus supports packaging a broad number of package types:
- macOS:
.app,.dmg - Linux:
.appimage,.rpm,.deb - Windows:
.msi,.exe - iOS:
.ipa - Android:
.apk
You can specify package types like so:
dx bundle --platform desktop \
    --package-types "macos" \
    --package-types "dmg"
Note that not all package-types are compatible with each platform - eg. only .exe can be built when specifying --platform desktop.
We should see the outputs in our terminal:
18.252s  INFO Bundled app successfully!
18.252s  INFO App produced 2 outputs:
18.252s  INFO app - [/Users/jonkelley/Development/Tinkering/06-demos/hot_dog/target/dx/hot_dog/bundle/macos/bundle/macos/HotDog.app]
18.252s  INFO dmg - [/Users/jonkelley/Development/Tinkering/06-demos/hot_dog/target/dx/hot_dog/bundle/macos/bundle/dmg/HotDog_0.1.0_aarch64.dmg]
Generally, you can distribute desktop apps without needing an app store. However, some platforms like macOS might require you to sign and notarize your application to be considered "safe" for your users to open.
When distributing mobile apps, you are required to sign and notarize your apps. Currently, Dioxus doesn't provide built-in utilities for this, so you'll need to figure out signing by reading 3rd-party documentation.
Tauri provides documentation on the signing process:
Customizing your Bundle
Before you ship your app, you might want to configure how your app icon looks, what entitlements it has, and other details. Our dx bundle tool can help you configure your bundles in a variety of ways.
To configure our bundle, we'll use our Dioxus.toml and modify the bundle section.
[application]
name = "docsite"

[bundle]
identifier = "com.dioxuslabs"
publisher = "DioxusLabs"
icon = ["assets/icon.png"]
For a full list of options, see the reference page on the bundle section.
Automating dx bundle with JSON mode
Also added in Dioxus 0.6 is a JSON output mode for dx. This makes it possible to parse the output of the CLI using tools like jq which provide stdin/stdout support for JSON parsing.
This mode is not particular friendly to humans, but does contain more information than the standard trace output.
{"timestamp":"   9.927s","level":"INFO","message":"Bundled app successfully!","target":"dx::cli::bundle"}
{"timestamp":"   9.927s","level":"INFO","message":"App produced 2 outputs:","target":"dx::cli::bundle"}
{"timestamp":"   9.927s","level":"DEBUG","message":"Bundling produced bundles: [\n    Bundle {\n        package_type: MacOsBundle,\n        bundle_paths: [\n            \"/Users/jonkelley/Development/Tinkering/06-demos/hot_dog/target/dx/hot_dog/bundle/macos/bundle/macos/HotDog.app\",\n        ],\n    },\n    Bundle {\n        package_type: Dmg,\n        bundle_paths: [\n            \"/Users/jonkelley/Development/Tinkering/06-demos/hot_dog/target/dx/hot_dog/bundle/macos/bundle/dmg/HotDog_0.1.0_aarch64.dmg\",\n        ],\n    },\n]","target":"dx::cli::bundle"}
{"timestamp":"   9.927s","level":"INFO","message":"app - [/Users/jonkelley/Development/Tinkering/06-demos/hot_dog/target/dx/hot_dog/bundle/macos/bundle/macos/HotDog.app]","target":"dx::cli::bundle"}
{"timestamp":"   9.927s","level":"INFO","message":"dmg - [/Users/jonkelley/Development/Tinkering/06-demos/hot_dog/target/dx/hot_dog/bundle/macos/bundle/dmg/HotDog_0.1.0_aarch64.dmg]","target":"dx::cli::bundle"}
{"timestamp":"   9.927s","level":"DEBUG","json":"{\"BundleOutput\":{\"bundles\":[\"/Users/jonkelley/Development/Tinkering/06-demos/hot_dog/target/dx/hot_dog/bundle/macos/bundle/macos/HotDog.app\",\"/Users/jonkelley/Development/Tinkering/06-demos/hot_dog/target/dx/hot_dog/bundle/macos/bundle/dmg/HotDog_0.1.0_aarch64.dmg\"]}}","target":"dx"}
JSON mode works with all dx commands. However, it is most useful with dx build and dx bundle. The CLI always guarantees that the last emitted line is the result of the command. To collect the list of bundles from the dx bundle command, we can use tail -1 and simple jq.
dx bundle --platform desktop \
    --json-output \
    --verbose \
    | tail -1 \
    | jq -r '.json | fromjson | .BundleOutput.bundles []'
This returns the list of bundles:
/Users/jonkelley/Development/Tinkering/06-demos/hot_dog/target/dx/hot_dog/bundle/macos/bundle/macos/HotDog.app
/Users/jonkelley/Development/Tinkering/06-demos/hot_dog/target/dx/hot_dog/bundle/macos/bundle/dmg/HotDog_0.1.0_aarch64.dmg