Deploying
We're finally ready to deploy our bundled apps into the world. Congrats on making it this far!
This step is optional for the tutorial but worth covering to understand the process. Feel free to skip ahead to next steps if you're not interested in deploying.
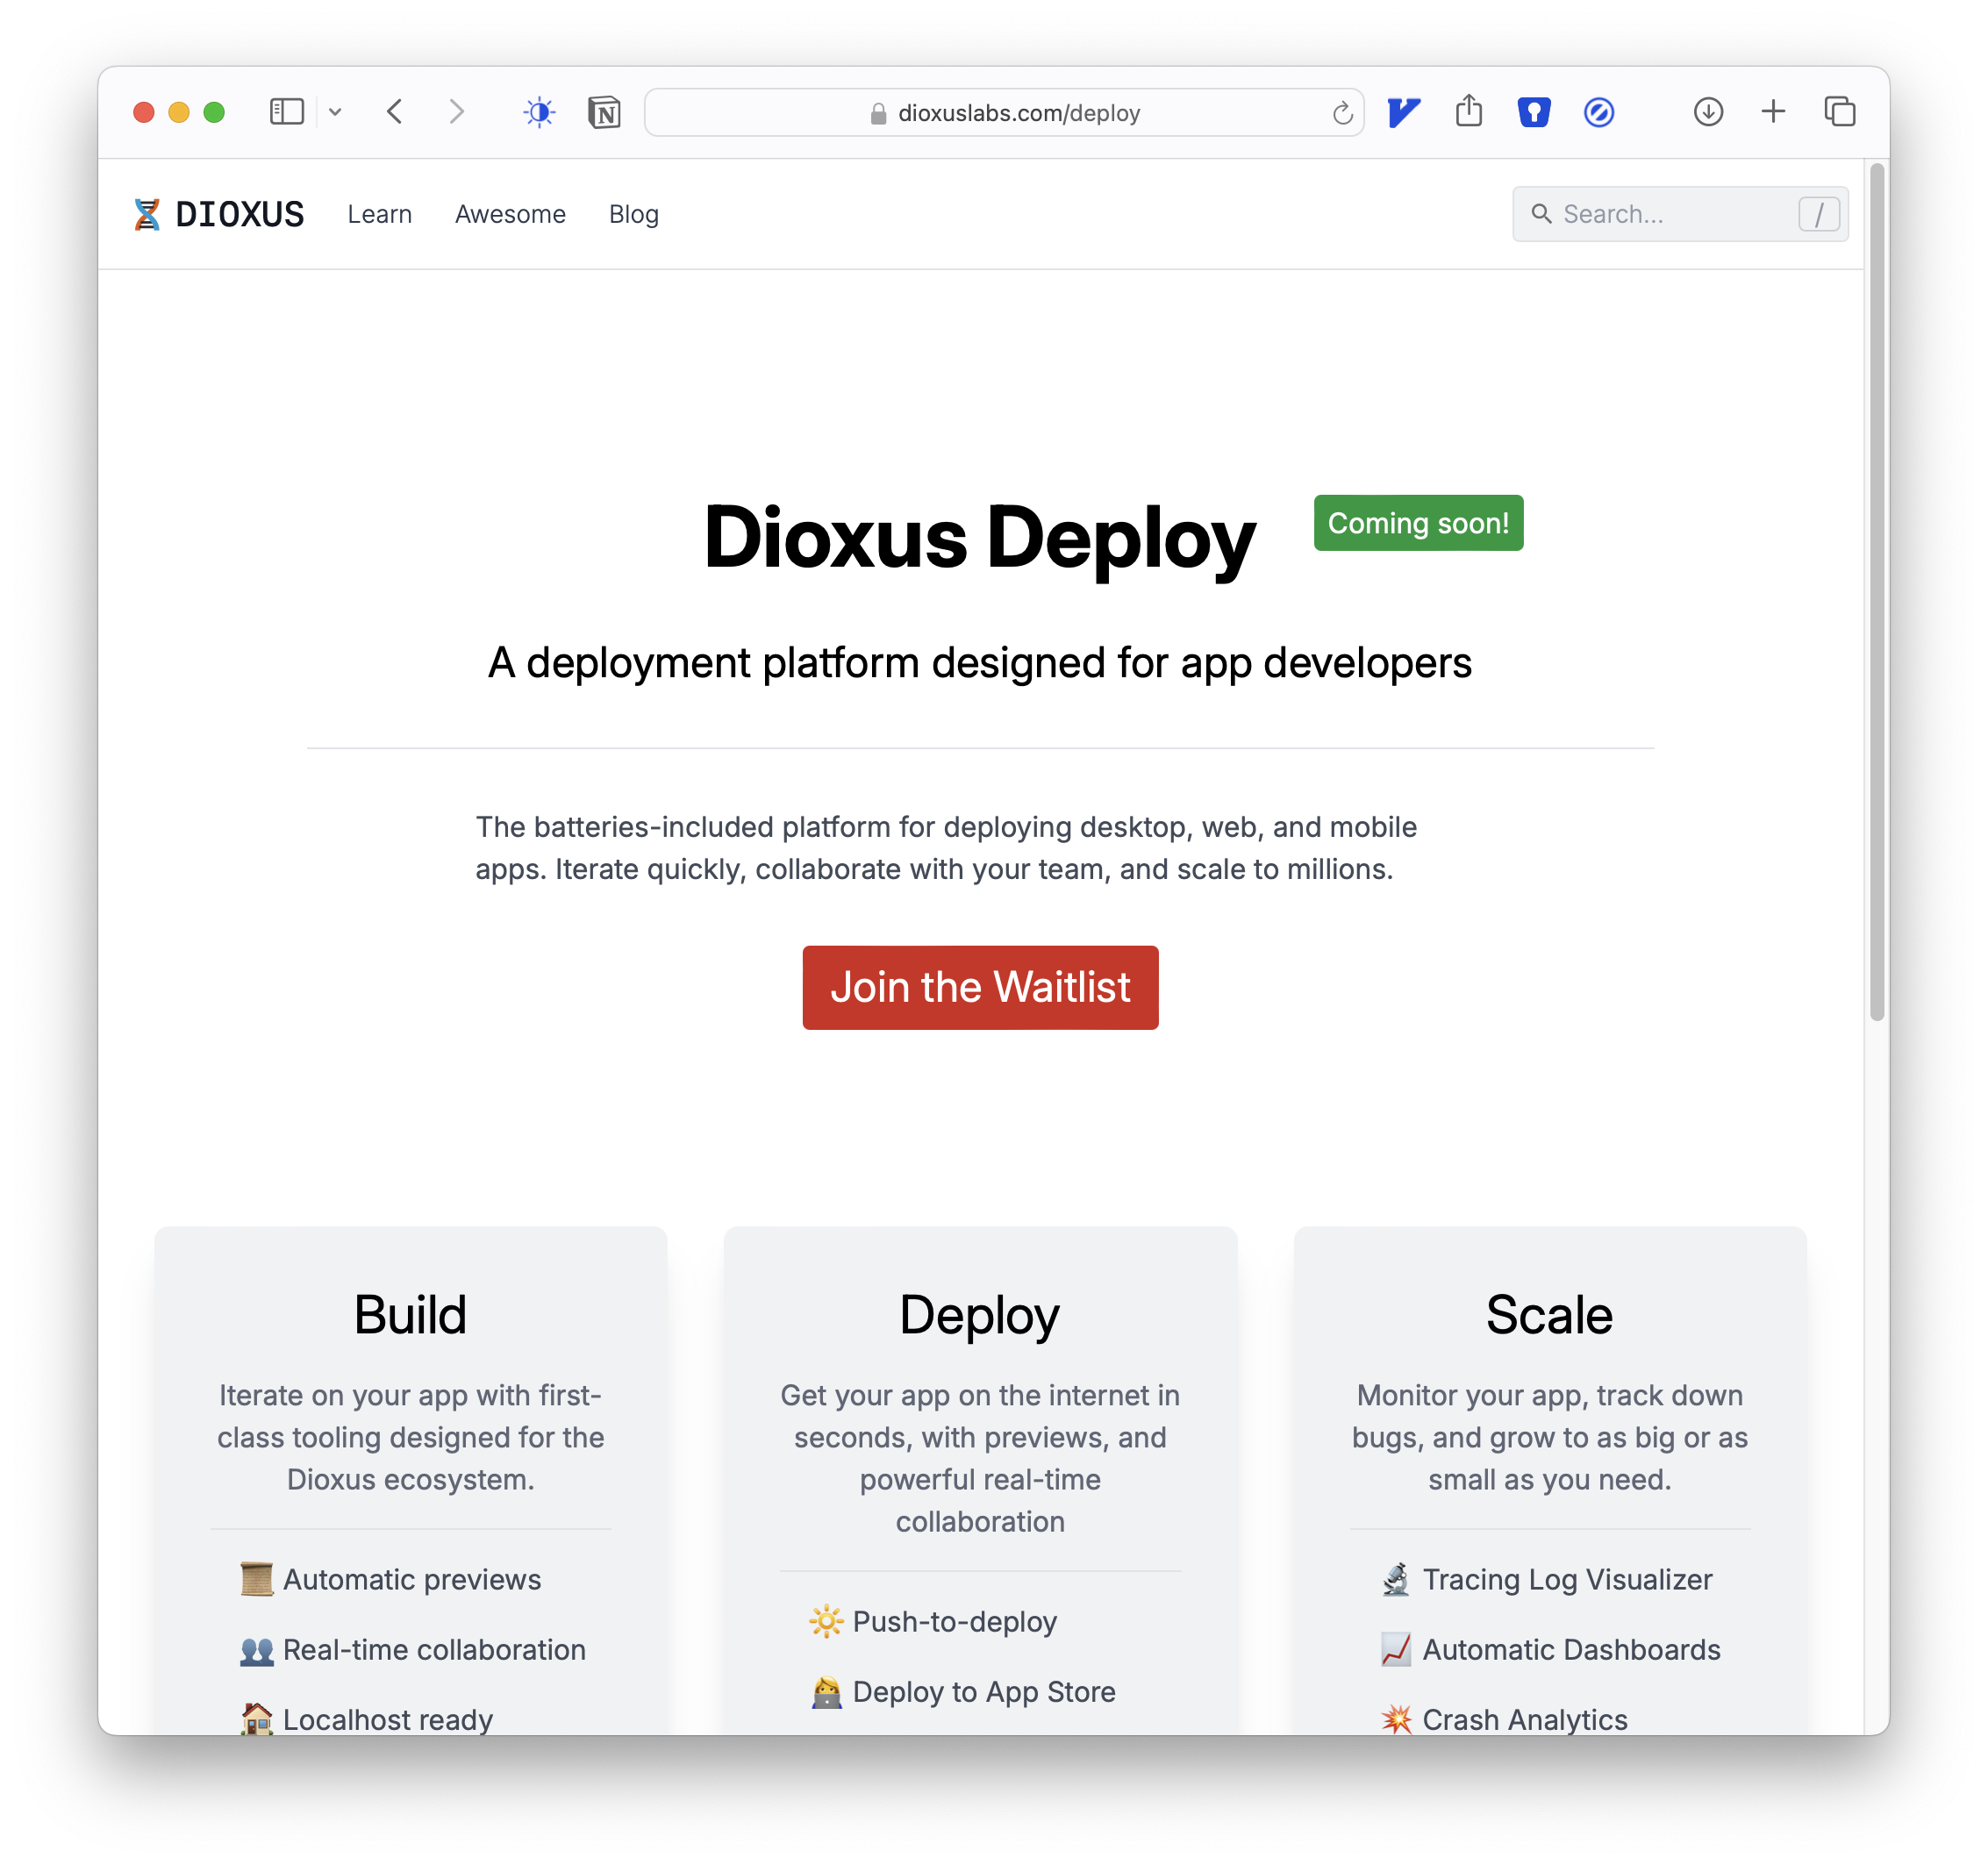
Dioxus Deploy
As mentioned in the introduction, Dioxus is an independent project with aspirations to fund itself through a paid deploy platform. Hopefully, one day, enough people ship apps with Dioxus Deploy to fund development on Dioxus itself!
Currently, Dioxus does not provide its own deploy platform. If you want to sign-up for the beta and help us design the ideal "end-to-end app-development experience," please join the waitlist!
Deploying your Desktop and Mobile apps
Generally, deploying a desktop app is as simple as distributing the bundle directly. Simply upload your app bundles to a host like GitHub or S3. With a download link, your users can easily download and install your apps.
📣 When shipping fullstack apps to production, you'll want to make sure to set your backend API URL properly as covered later.
If you'd like to distribute your app through app stores, you'll need to follow some additional steps.
- iOS: Directly publish to the Apple App Store
- macOS: Directly publish to the Apple App Store
- Android: Directly publish to the Google Play Store
Tauri provides some helpful guides for deploying Tauri apps which, while not Dioxus apps, need to follow many of the same steps for deploying to app stores.
Making native app distribution easier is a top priority for Dioxus Deploy!
Deploy Requirements
Dioxus web apps are structured as a Client bundle and a Server executable. Generally, any deploy provider that exposes a simple container will be sufficient for a Dioxus fullstack web application.
Some providers like Cloudflare Workers and Fermyon Spin provide WASM-based containers for apps. WASM runtimes are typically cheaper to operate and can horizontally scale better than a traditional virtual-machine based container. When deploying on WASM runtimes, you will need to create a WASM build of your server manually.
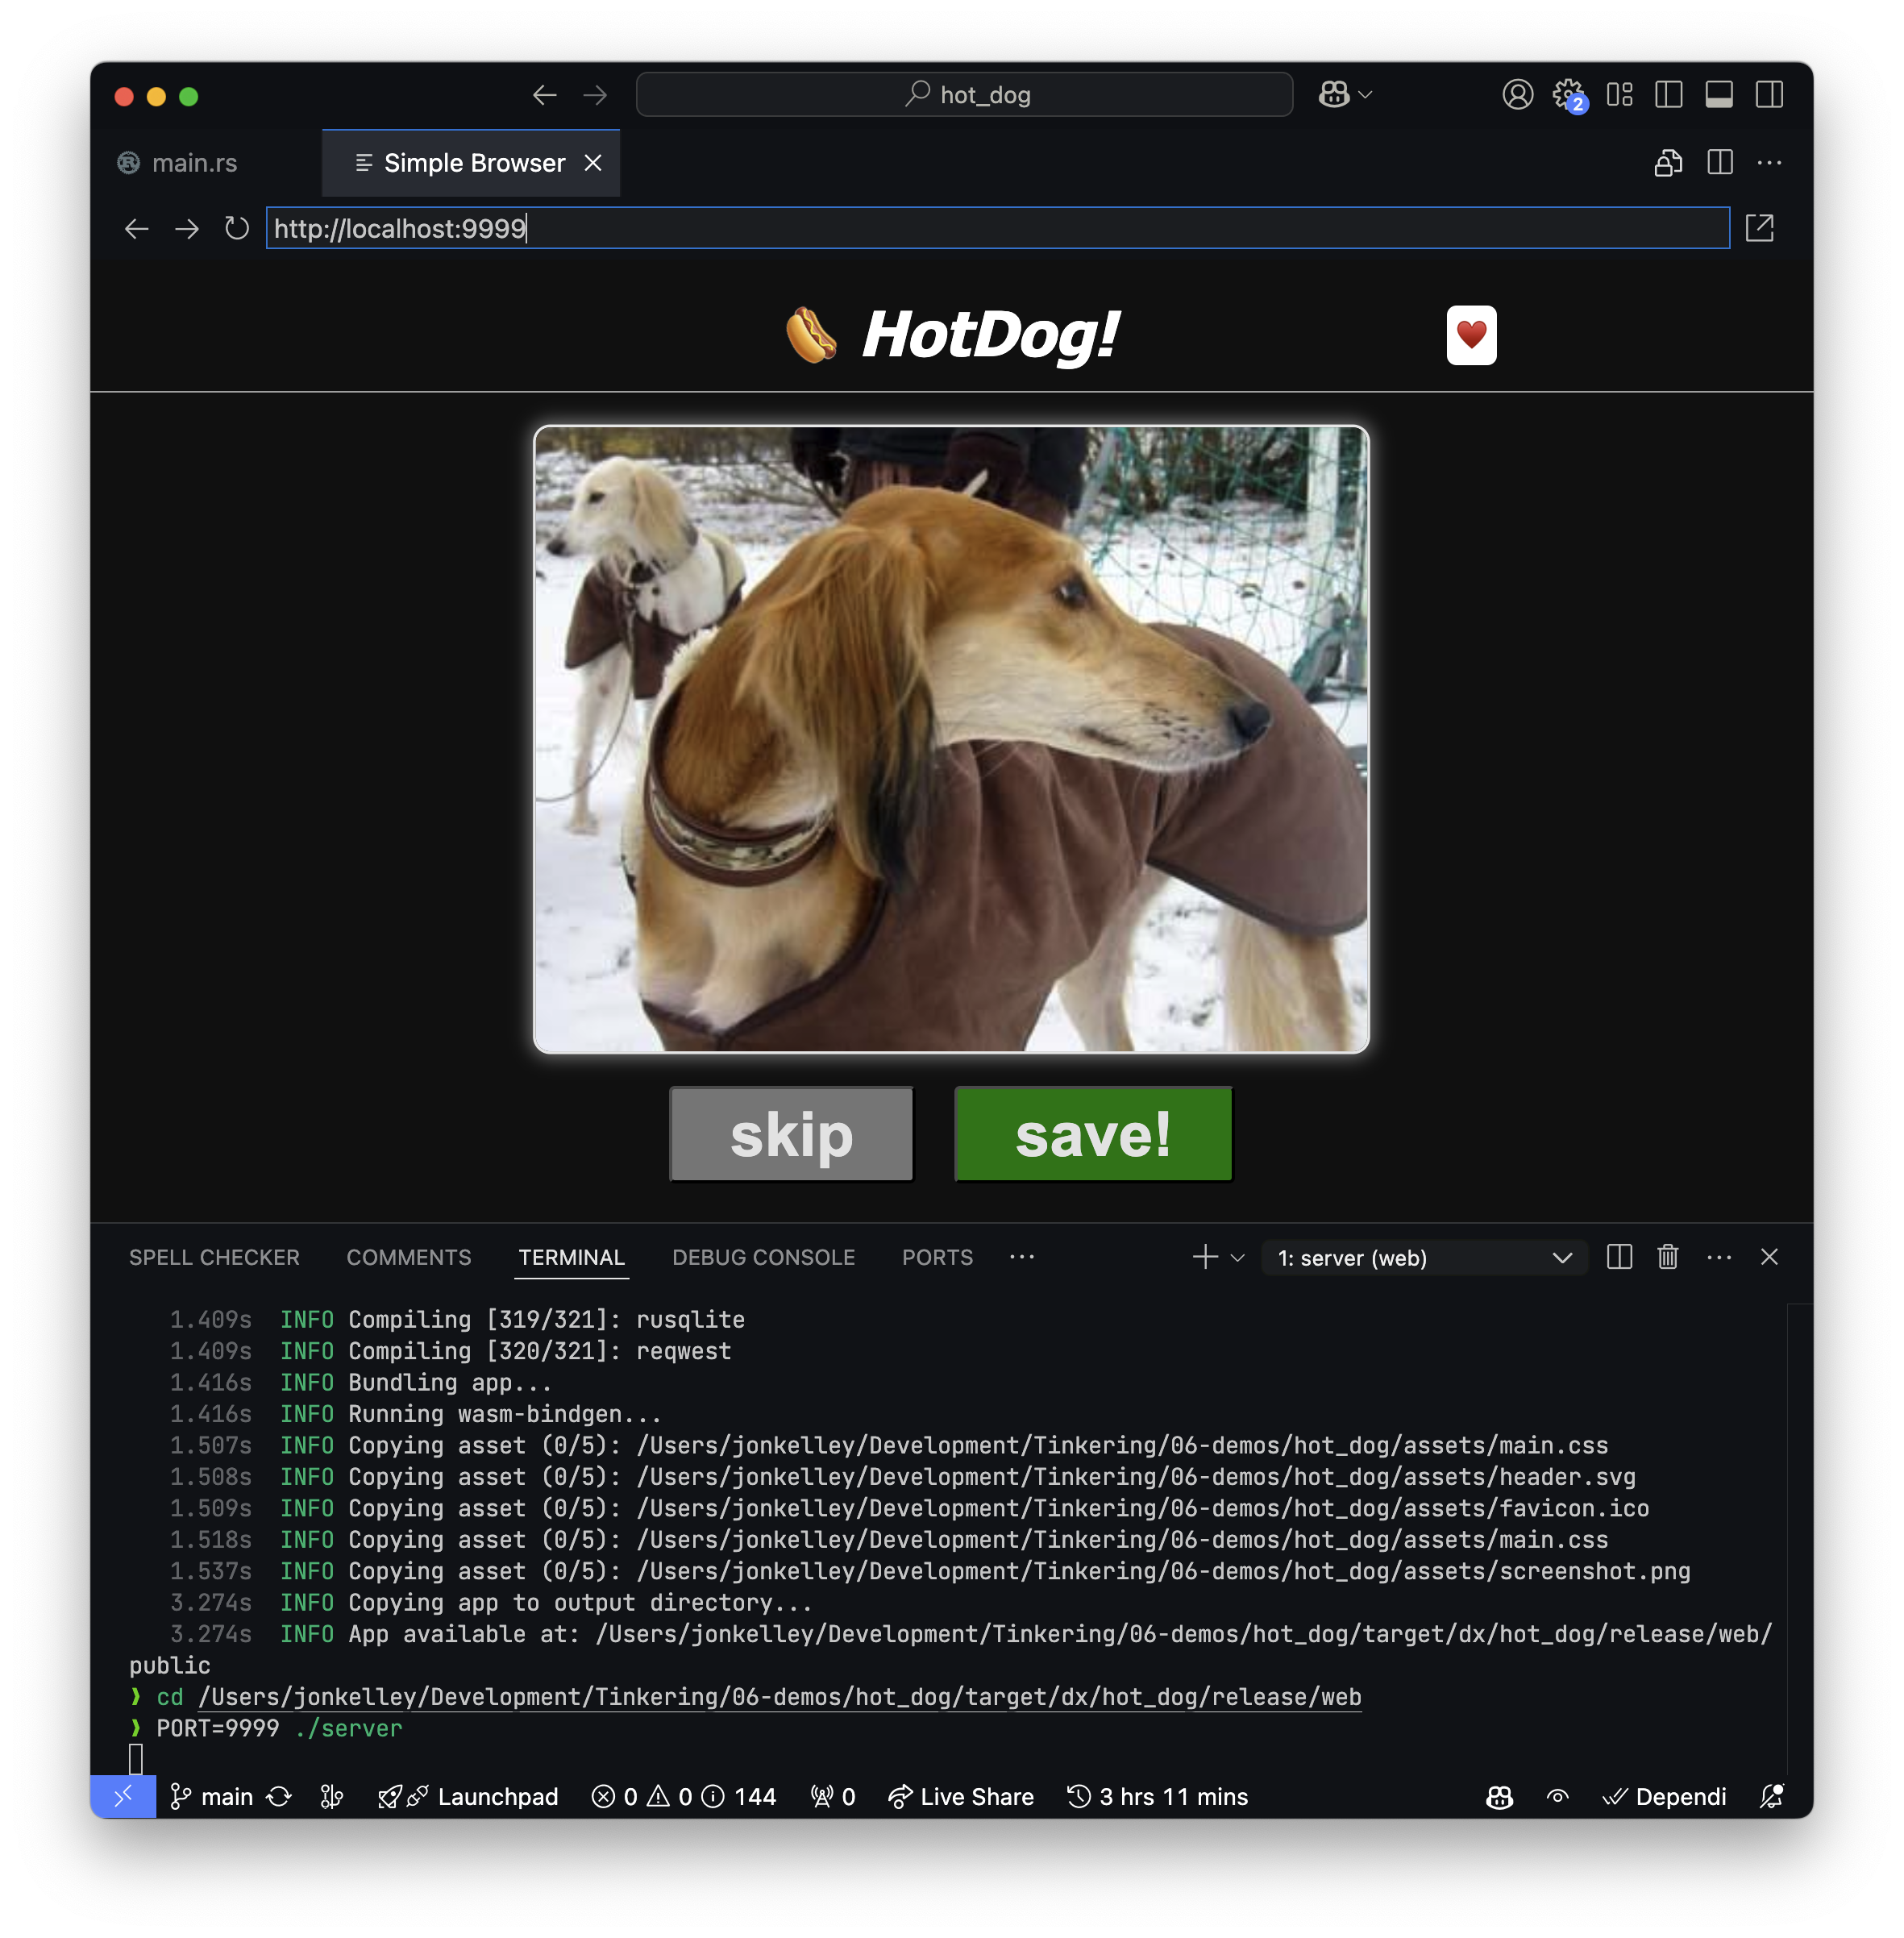
Running the webserver is as simple as executing ./server. Make sure to set the IP and PORT environment variables correctly:
Choosing a deploy provider
There are many deploy providers! We're not going to get too deep into the pros/cons of any particular provider. Generally, providers are good at one of a few categories: price, performance, UI/UX, advanced features, and enterprise requirements.
Depending on your app, you might have strict requirements like SOC2 or HIPAA compliance. Make sure to do your own research for your own use-case.
- AWS: Full-featured cloud provider powered by Amazon.
- GCP: Full-featured cloud provider powered by Google.
- Azure: Full-featured cloud provider powered by Microsoft.
- Fly.io: Simple scale-to-zero micro-vm-based cloud with integrated wireguard.
- Vercel: Developer-focused cloud built on AWS cloud functions popular with JavaScript frameworks.
- Render: A "Modern Heroku" focused on developer experience and simplicity.
- Digital Ocean: A cloud built around virtual machines, databases, and storage.
For HotDog we're going to deploy on Fly.io. We like Fly.io for a number of reasons. Most importantly, Fly is built on Amazon's Firecracker project which is entirely written in Rust!
Fly is also quite simple to get started - just log in with either your GitHub account or Google account.
Building a Dockerfile
Some deploy providers have prebuilt solutions for various runtimes. For example, some have dedicated NodeJS and Python runtimes with strict requirements.
With Rust apps, there generally isn't a prebuilt "pack" to target. In these cases, we need to write a simple Dockerfile which compiles and starts our apps.
Our Dockerfile will have three phases. The first phase downloads and caches dependencies so incremental builds stay fast:
FROM rust:1 AS chef
RUN cargo install cargo-chef
WORKDIR /app

FROM chef AS planner
COPY . .
RUN cargo chef prepare --recipe-path recipe.json
In the second phase, we use cargo chef to load cached dependencies and preform the build:
FROM chef AS builder
COPY --from=planner /app/recipe.json recipe.json
RUN cargo chef cook --release --recipe-path recipe.json
COPY . .

# Install `dx`
RUN curl -L --proto '=https' --tlsv1.2 -sSf https://raw.githubusercontent.com/cargo-bins/cargo-binstall/main/install-from-binstall-release.sh | bash
RUN cargo binstall dioxus-cli --root /.cargo -y --force
ENV PATH="/.cargo/bin:$PATH"

# Create the final bundle folder. Bundle always executes in release mode with optimizations enabled
RUN dx bundle --platform web
Finally, we copy the built "web" folder to the "slim" runtime that serves our app.
FROM chef AS runtime
COPY --from=builder /app/target/dx/hot_dog/release/web/ /usr/local/app

# set our port and make sure to listen for all connections
ENV PORT=8080
ENV IP=0.0.0.0

# expose the port 8080
EXPOSE 8080

WORKDIR /usr/local/app
ENTRYPOINT [ "/usr/local/app/server" ]
It's also a smart idea to set up a .dockerignore file:
**/target
**/dist
LICENSES
LICENSE
temp
README.md
Deploying to Fly
To get started with Fly, we need to go through the Sign Up flow and enter our details. This shouldn't take too long.
We'll add the dockerfile from above along with the dockerignore. We'll want to install flyctl which also installs the fly CLI.
Let's call fly launch which will automatically initialize our fly.toml.
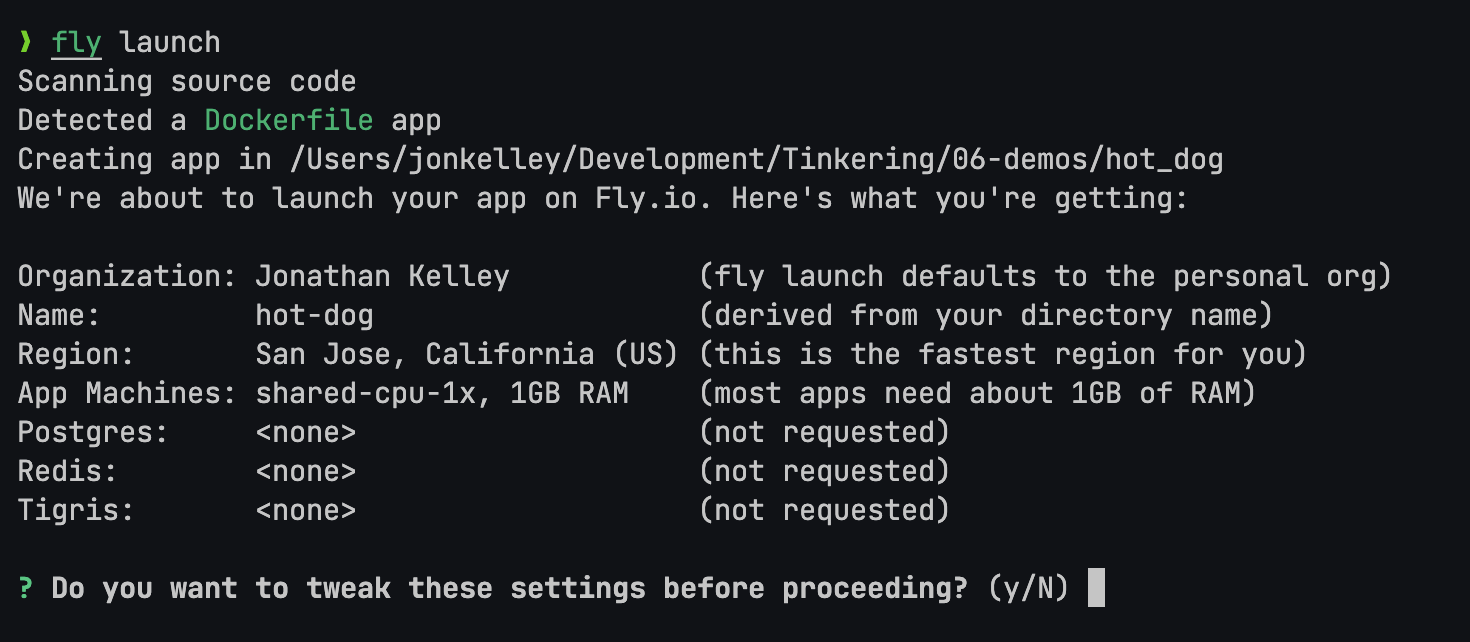
fly launch will spin up a build machine for us and build our app. In a minute or two, our app should be fully built and deployed.
If we ever want to re-deploy our code, we can run fly deploy.
We can also add a volume to our app to persist our Sqlite database by adding a [mounts] section to our Fly.toml:
[mounts]
  source = "hotdogdb"
  destination = "/usr/local/app/hotdogdb"
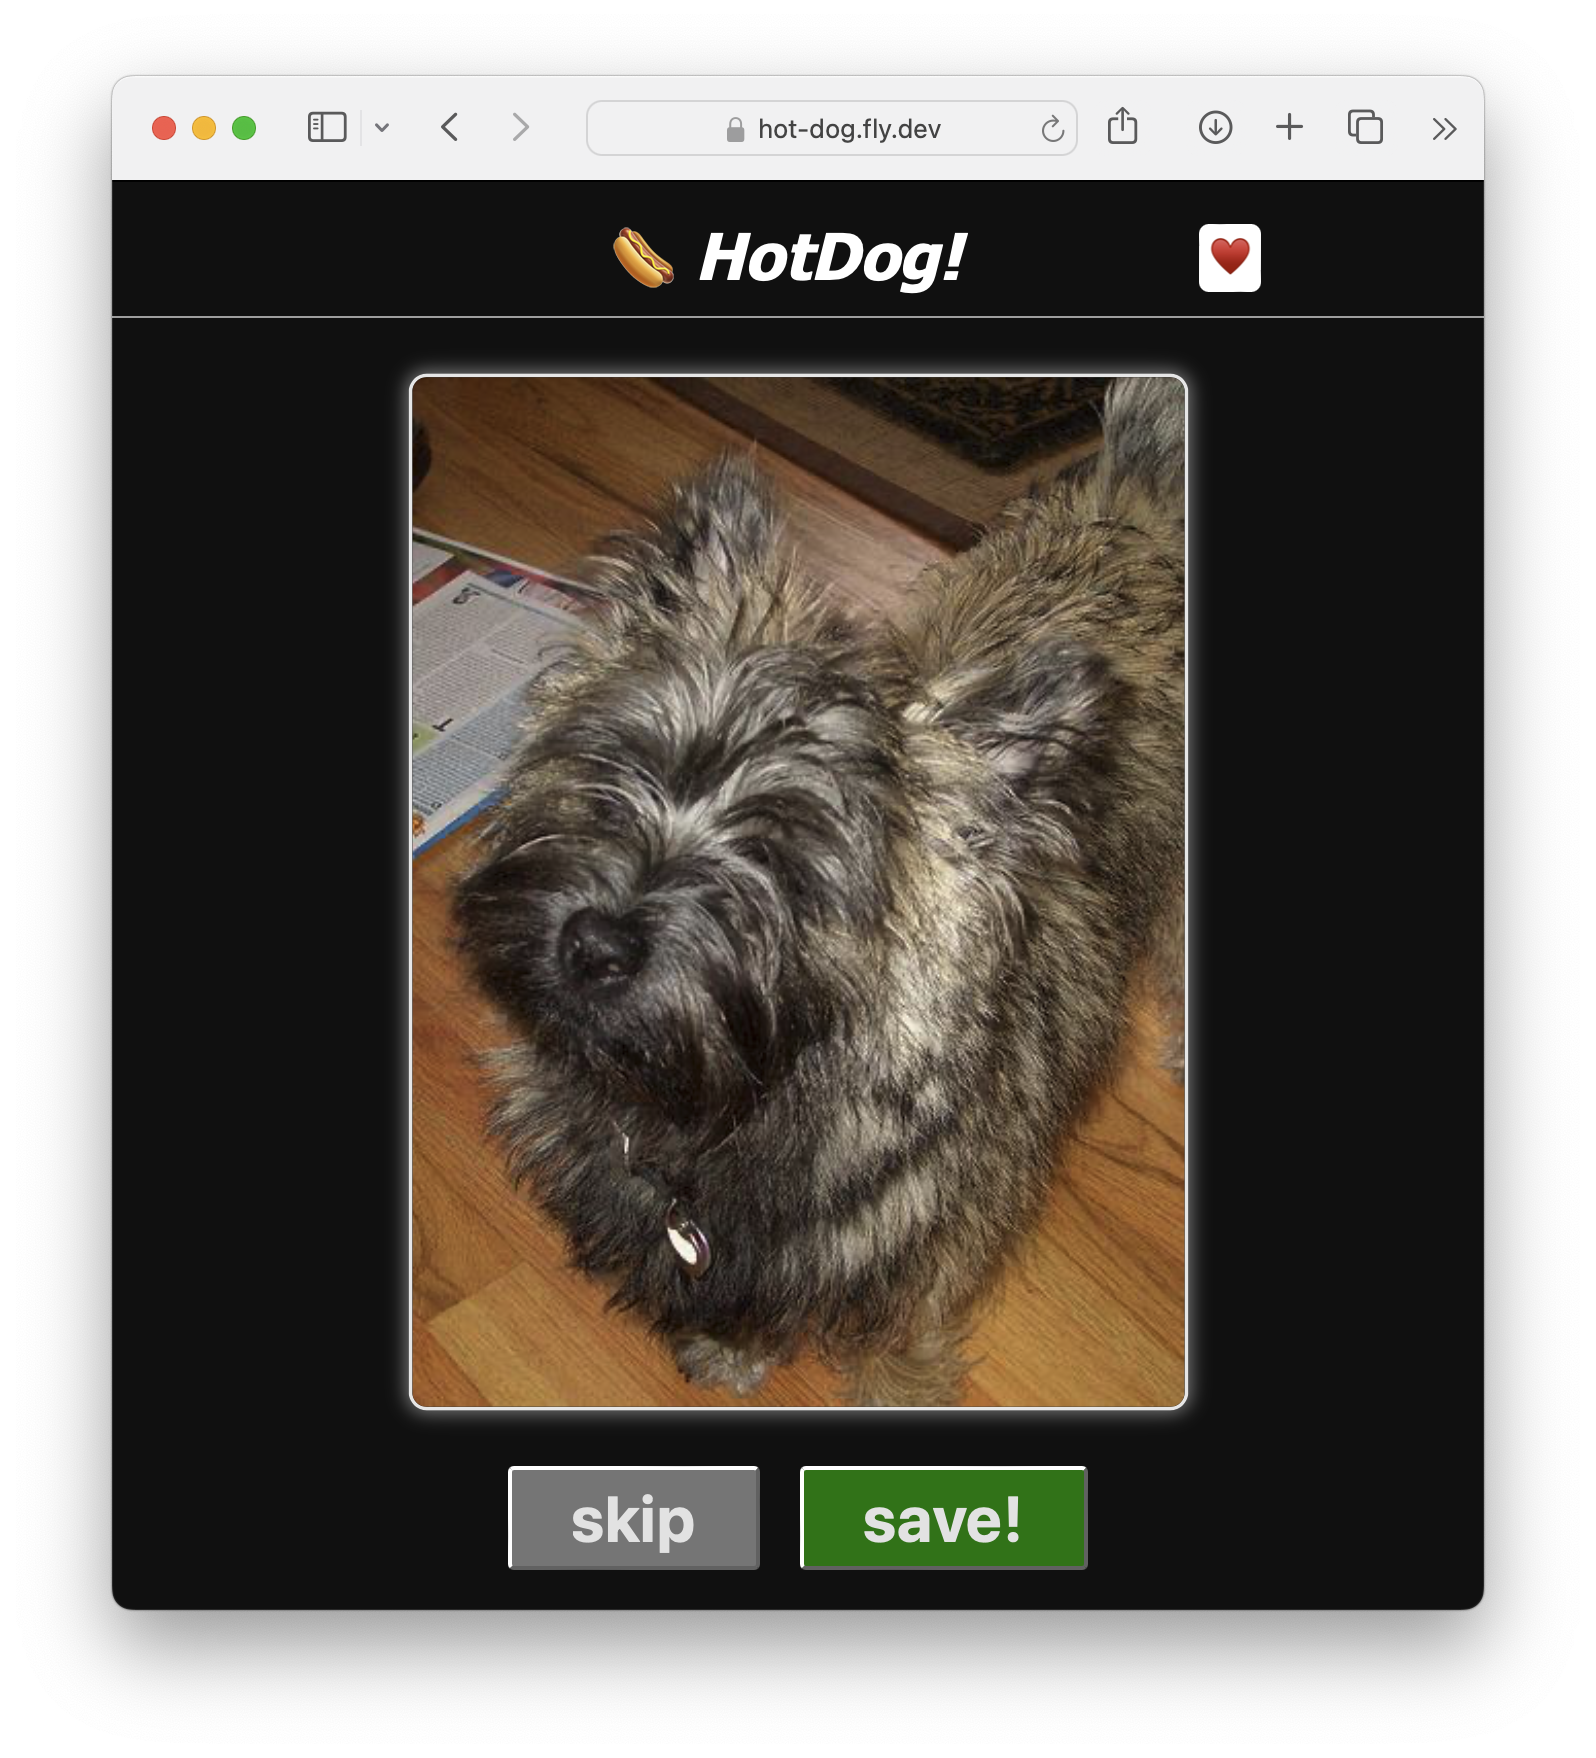
Once the build is complete, Fly will assign our app a URL that we can customize later. With any luck, our app should be live!
Continuous Deployment
Fly also supports continuous deployment. Whenever we push to our GitHub repository, we can execute fly deploy automatically. This can serve as a foundation for staging environments and automatic releases.
Our app just needs a .github/workflows/fly-deploy.yml.
name: Fly Deploy
on:
  push:
    branches:
      - main
jobs:
  deploy:
    name: Deploy app
    runs-on: ubuntu-latest
    concurrency: deploy-group
    steps:
      - uses: actions/checkout@v4
      - uses: superfly/flyctl-actions/setup-flyctl@master
      - run: flyctl deploy --remote-only
        env:
          FLY_API_TOKEN: ${{ secrets.FLY_API_TOKEN }}
Fullstack Desktop and Mobile
Now that our backend is live, we can wire up the API to our native apps. By default, Dioxus doesn't know where to find your API, so you'll need to specify the URL manually by calling server_fn::client::set_server_url.
fn main() {
    #[cfg(not(feature = "server"))]
    server_fn::client::set_server_url("https://hot-dog.fly.dev");

    dioxus::launch(App);
}
Note that as our app changes, the "true" endpoint of our server functions might change. The #[server] macro generates an API endpoint with the form of /api/fetch_dogs-jkhj12 where the trailing data is a unique hash. As we update our server functions, the hash will change.
To make server functions maintain a stable endpoint, we can manually name them with the endpoint = "xyz" attribute.
#[server(endpoint = "list_dogs")]
pub async fn list_dogs() -> Result<Vec<(usize, String)>, ServerFnError> {
    todo!()
}

#[server(endpoint = "remove_dog")]
pub async fn remove_dog(id: usize) -> Result<(), ServerFnError> {
    todo!()
}

#[server(endpoint = "save_dog")]
pub async fn save_dog(image: String) -> Result<(), ServerFnError> {
    todo!()
}
Let's re-deploy our web app with fly deploy. This deploy should complete faster thanks to cargo chef caching our build.
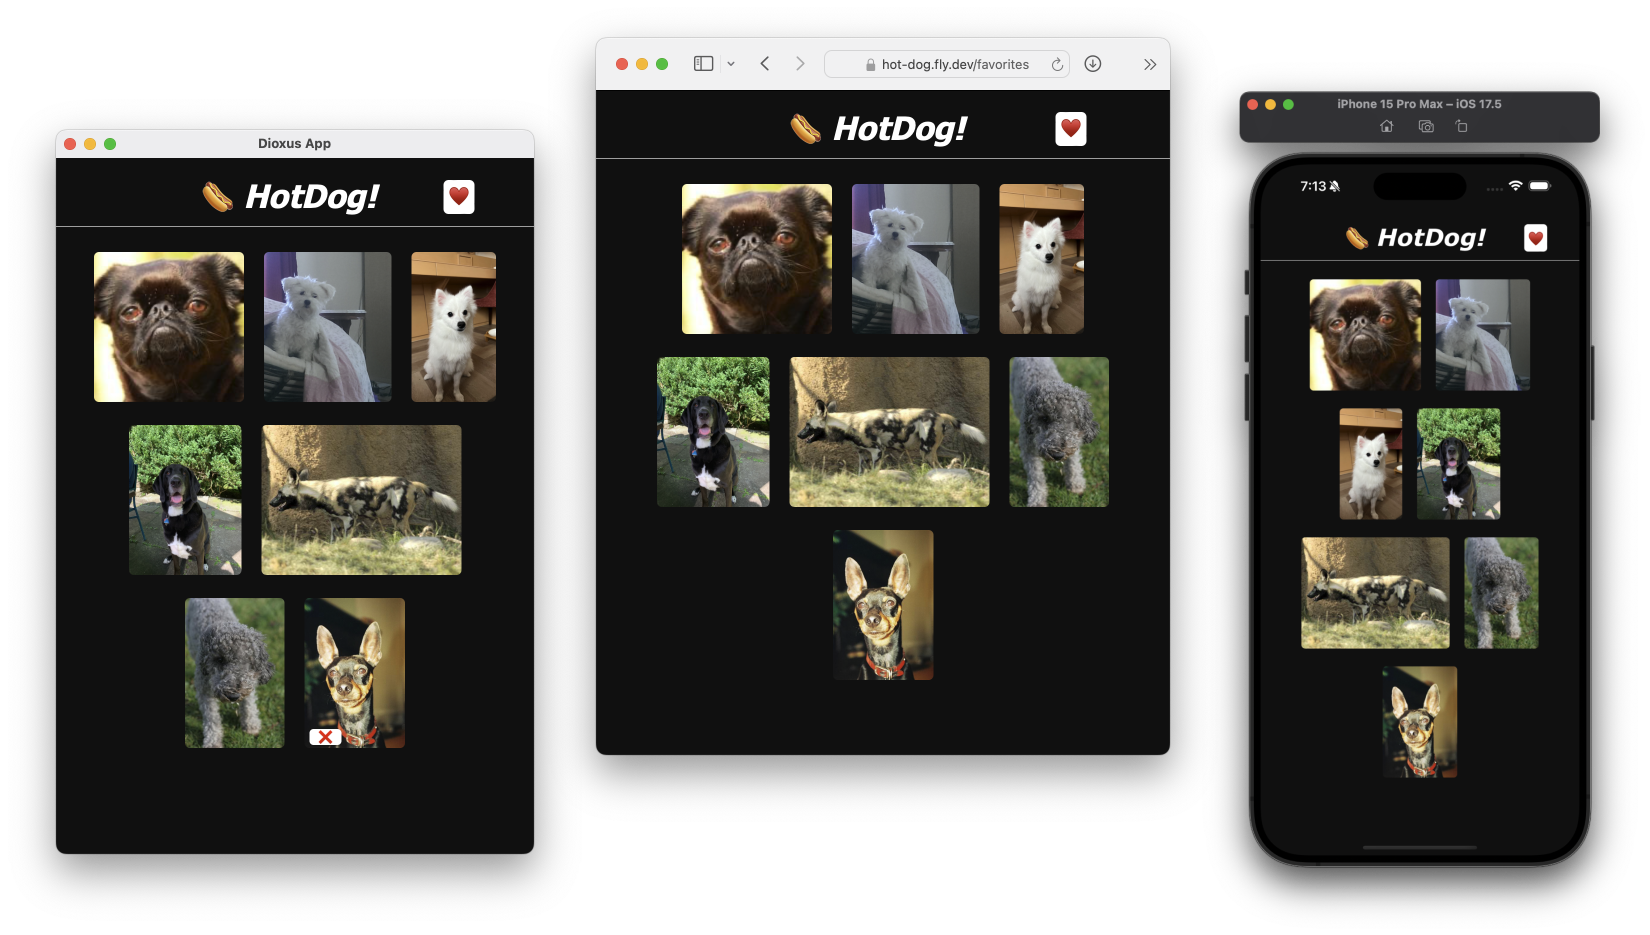
Now, with dx serve --platform desktop, we should be able to interact with the same backend across web and desktop.
Amazing! Our startup is coming along nicely.
Next Steps
Our app isn't done yet, but this guide has become pretty long!
There's so much extra to do:
- Adding users, login, and auth.
- Protecting our site from DDOS with tools Cloudflare.
- Adding more features
- Marketing and sharing with friends!